Creamy Chocolate Coconut Milk Ice Cream Delight
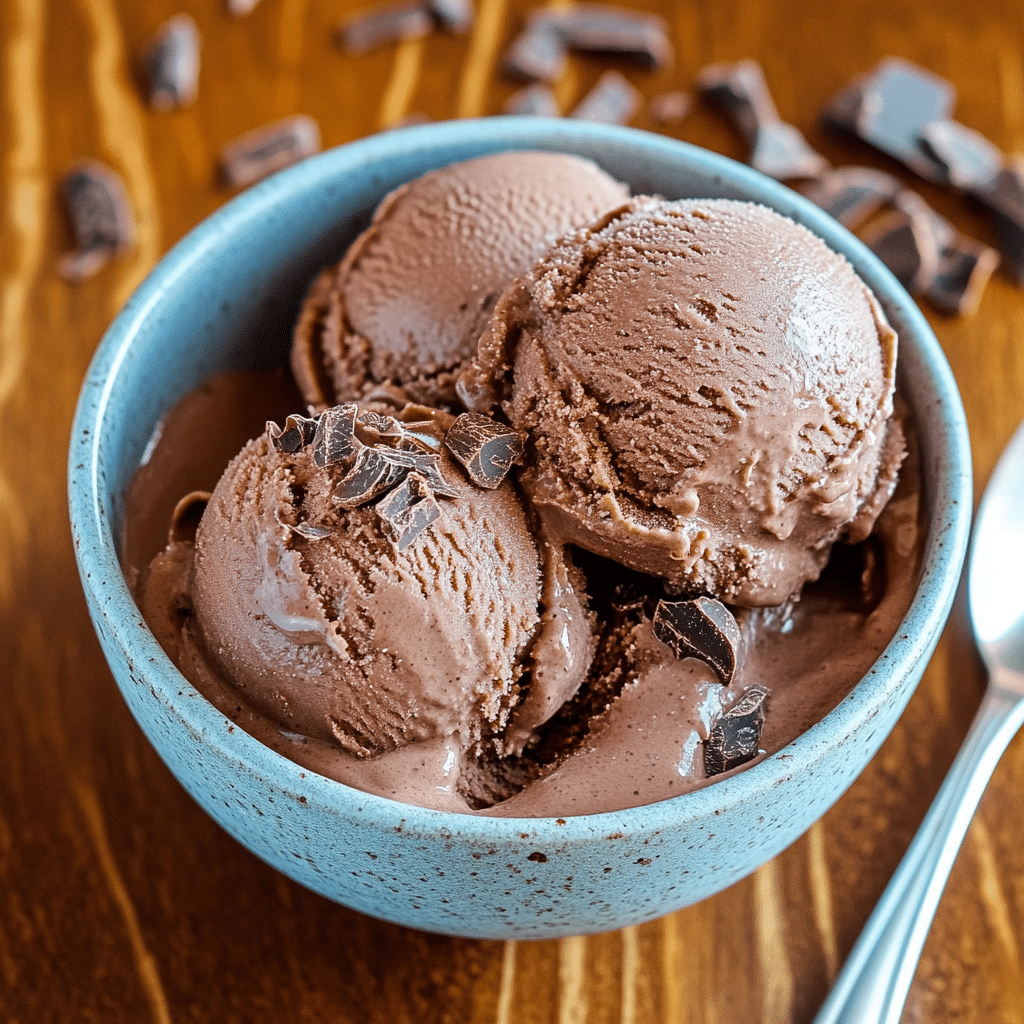
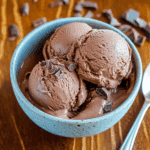
Get ready to indulge in a luscious scoop of Chocolate Coconut Milk Ice Cream, a creamy, dairy-free dessert that combines the rich depth of chocolate with the tropical flair of coconut milk. This guilt-free treat is perfect for anyone craving a velvety, smooth ice cream without the heaviness of traditional dairy. Whether you’re vegan, lactose intolerant, or just looking for a delicious twist, this recipe brings together simple, wholesome ingredients to create a dessert that feels indulgent and refreshing all at once.
Why You’ll Love This Recipe
- Dairy-Free Delight: Crafted entirely without dairy, making it perfect for vegans and those with lactose intolerance.
- Rich and Creamy Texture: Coconut milk provides that silky consistency you’d expect from premium ice cream.
- Natural Sweetness: Sweetened with natural ingredients for a healthier treat without refined sugar overload.
- Simple Ingredients: Easy to find pantry staples come together quickly for a stress-free dessert.
- Customizable Flavor: Easily adapted to suit your favorite mix-ins or toppings for a personal touch.
Ingredients You’ll Need
Every ingredient in this recipe plays an essential role, balancing flavor and texture while keeping the ice cream dairy-free and richly chocolaty. From creamy coconut milk to high-quality cocoa powder, these simple essentials will elevate your dessert game effortlessly.
- Coconut Milk: Use full-fat canned coconut milk to achieve that luscious, creamy base without dairy.
- Cocoa Powder: Unsweetened, good-quality cocoa powder gives the ice cream its rich chocolate flavor.
- Sweetener: Maple syrup or agave nectar adds just the right touch of natural sweetness.
- Vanilla Extract: Enhances the overall flavor and provides a smooth, aromatic background.
- Salt: A pinch of salt balances the sweetness and intensifies the chocolate notes.
- Optional Add-ins: Chopped dark chocolate, shredded coconut, or nuts for extra texture and flavor.
Variations for Chocolate Coconut Milk Ice Cream
This recipe is wonderfully versatile, inviting you to tweak and tailor it to your taste or dietary needs. Whether you prefer it more decadent, nutty, or with a hint of spice, it’s simple to adjust the basic formula to make it your own.
- Mocha Twist: Add a teaspoon of instant coffee or espresso powder for a coffee-chocolate combo.
- Nutty Delight: Fold in chopped toasted almonds or pecans for crunch and richness.
- Mint Chocolate: Blend in a few drops of peppermint extract for a refreshing flavor burst.
- Superfood Boost: Mix in a tablespoon of chia seeds or hemp hearts for added nutrition.
- Sweet Spice: Sprinkle in cinnamon or chili powder for an unexpected warming kick.

How to Make Chocolate Coconut Milk Ice Cream
Step 1: Prepare the Coconut Milk Base
Shake the canned coconut milk well and pour the full-fat portion into a mixing bowl, leaving behind any watery liquid. This thick cream is the foundation for your creamy ice cream.
Step 2: Mix in Cocoa and Sweeteners
Whisk together the cocoa powder, maple syrup (or your sweetener of choice), vanilla extract, and a pinch of salt with the coconut milk until the mixture is smooth and glossy, ensuring there are no lumps.
Step 3: Chill the Mixture
Cover the bowl and refrigerate the mixture for at least 2 hours or overnight to allow the flavors to meld and to ensure it’s thoroughly cold before churning.
Step 4: Churn the Ice Cream
Pour the chilled mixture into an ice cream maker and churn according to the manufacturer’s instructions, usually about 20-30 minutes, until it reaches a soft-serve consistency.
Step 5: Freeze Until Firm
Transfer the churned ice cream to a freezer-safe container and freeze for an additional 3-4 hours or until firm enough to scoop and enjoy.
Pro Tips for Making Chocolate Coconut Milk Ice Cream
- Full-Fat is Key: Choosing full-fat coconut milk ensures that creamy texture reminiscent of traditional ice cream.
- Pre-Chill Everything: Make sure your bowl, ingredients, and churning equipment are cold to speed up freezing and improve texture.
- Sweetener Choices: Adjust the sweetness to your preference and consider natural options like coconut sugar or honey for unique flavor.
- No Ice Cream Maker? Use a no-churn method by freezing the mixture in a container and stirring every 30 minutes for a fluffier result.
- Avoid Ice Crystals: Don’t skip chilling the base before churning, as this helps prevent icy texture.
How to Serve Chocolate Coconut Milk Ice Cream
Garnishes
Finish with toasted coconut flakes, a drizzle of dark chocolate sauce, or a sprinkle of cacao nibs to enhance the tropical and chocolaty elements.
Side Dishes
Serve alongside fresh berries, tropical fruit slices like mango or pineapple, or a warm brownie for a dessert that feels truly special.
Creative Ways to Present
Try serving the ice cream in hollowed-out coconut shells or atop waffle cones lined with shredded coconut for an eye-catching presentation that complements the flavors.
Make Ahead and Storage
Storing Leftovers
Store leftover Chocolate Coconut Milk Ice Cream in an airtight container in the freezer to maintain freshness and texture for up to 1 week.
Freezing
Freeze the ice cream in a shallow container to allow for faster freezing and easier scooping, covering tightly with plastic wrap before sealing with a lid.
Reheating
Let the ice cream sit at room temperature for 5-10 minutes before scooping to soften slightly without melting completely for the best texture.
FAQs
Is Chocolate Coconut Milk Ice Cream dairy-free?
Yes! This recipe is completely dairy-free, making it ideal for vegans and individuals with lactose intolerance.
Can I use light coconut milk instead of full-fat?
Full-fat coconut milk is recommended for its rich, creamy texture, but light coconut milk can be used although the ice cream will be less creamy and more icy.
Do I need an ice cream maker to make this recipe?
While an ice cream maker yields the best texture, you can make a no-churn version by freezing the mixture and stirring it every 30 minutes until firm.
How long does this ice cream keep in the freezer?
When properly stored in an airtight container, it will stay fresh and tasty for up to one week, though it’s best enjoyed sooner for optimal creaminess.
Can I add mix-ins like nuts or chocolate chips?
Absolutely! Add your favorite mix-ins during the last few minutes of churning or fold them in before freezing for added texture and flavor.
Final Thoughts
If you’re looking for a smooth, rich dessert that’s both indulgent and dairy-free, this Chocolate Coconut Milk Ice Cream is a must-try. Its simple ingredients and easy steps make it perfect for sharing with friends or treating yourself anytime you want a creamy tropical escape. Go ahead, whip it up and savor every delicious bite!
Related Posts
- Why Irresistible Glazed Buttermilk Beignets Shine
- Why Cream Cheese-Filled Banana Bread Is Irresistible
- Why Moist Banana Cake with Cream Cheese Frosting Wins
Chocolate Coconut Milk Ice Cream
Enjoy a creamy and dairy-free Chocolate Coconut Milk Ice Cream that blends rich chocolate flavor with tropical coconut milk. Perfect for vegans, lactose intolerant individuals, or anyone desiring a smooth, indulgent frozen treat made from simple, wholesome ingredients and natural sweeteners.
- Prep Time: 10 minutes
- Cook Time: 30 minutes (churning) + 3-4 hours (freezing)
- Total Time: 4 hours 40 minutes to overnight (including chilling and freezing)
- Yield: Approximately 4 servings 1x
- Category: Desserts
- Method: Churning
- Cuisine: Vegan
- Diet: Dairy-Free, Vegan, Gluten Free
Ingredients
Main Ingredients
- 1 can (13.5 oz) full-fat canned coconut milk
- 1/3 cup unsweetened cocoa powder
- 1/4 to 1/3 cup maple syrup or agave nectar (adjust based on sweetness preference)
- 1 teaspoon vanilla extract
- Pinch of salt
Optional Add-ins
- Chopped dark chocolate
- Shredded coconut
- Chopped toasted almonds or pecans
- Few drops peppermint extract
- 1 teaspoon instant coffee or espresso powder
- 1 tablespoon chia seeds or hemp hearts
- Sprinkle of cinnamon or chili powder
Instructions
- Prepare the Coconut Milk Base: Shake the canned coconut milk well and pour the thick, full-fat portion into a mixing bowl, leaving behind any watery liquid. This creamy base forms the foundation of your rich ice cream.
- Mix in Cocoa and Sweeteners: Whisk together the cocoa powder, maple syrup (or your preferred sweetener), vanilla extract, and a pinch of salt with the coconut milk until smooth and glossy, making sure there are no lumps.
- Chill the Mixture: Cover the bowl and refrigerate the mixture for at least 2 hours or overnight to allow flavors to meld and ensure it is thoroughly cold before churning.
- Churn the Ice Cream: Pour the chilled mixture into an ice cream maker and churn according to the manufacturer’s instructions, usually about 20-30 minutes, until it reaches a soft-serve consistency. Add any desired mix-ins during the last few minutes of churning.
- Freeze Until Firm: Transfer the churned ice cream to a freezer-safe container and freeze for an additional 3-4 hours or until firm enough to scoop and enjoy.
Notes
- Use full-fat canned coconut milk for the creamiest texture and best flavor.
- Pre-chill all ingredients and equipment to speed freezing and improve texture.
- Adjust sweetness to your preference using natural sweeteners like maple syrup, agave nectar, coconut sugar, or honey.
- If you don’t have an ice cream maker, use a no-churn method: freeze the mixture in a container and stir every 30 minutes until fluffy and firm.
- Chilling the base before churning helps prevent icy texture and improves creaminess.
Nutrition
- Serving Size: 1/2 cup
- Calories: 180
- Sugar: 14g
- Sodium: 30mg
- Fat: 14g
- Saturated Fat: 12g
- Unsaturated Fat: 1.5g
- Trans Fat: 0g
- Carbohydrates: 16g
- Fiber: 3g
- Protein: 2g
- Cholesterol: 0mg
Keywords: Chocolate ice cream, coconut milk ice cream, dairy-free dessert, vegan ice cream, lactose-free, dairy-free chocolate ice cream